
The Movement That Came Back Stuttering
He went out to film on a sunny day and found the image far too bright.
So he reached for the nearest fix he knew: raise the shutter speed. Once, then again, until the brightness looked right on the screen.
And he filmed the whole day happy.
Then he watched the footage on a big screen.
Every movement in it stuttered. People's steps looked like a sequence of stills rather than continuous motion. The car that crossed the frame jumped instead of passing.
And there's nothing in an edit that fixes this.
The image was perfectly exposed. And it was broken.
One thing was missing: knowing that in video, shutter speed isn't a free exposure control, and that excess light is handled by something else called an ND filter.
What Exposure Actually Is
Exposure is the amount of light reaching the camera's sensor. Too much and the image is bright and blown out (overexposed); too little and it's dark (underexposed).
The three elements that control it are called the exposure triangle. It's called a triangle because you can't change one of them without affecting the balance, so if you reduce light on one side you have to compensate on another.
Side One: Aperture
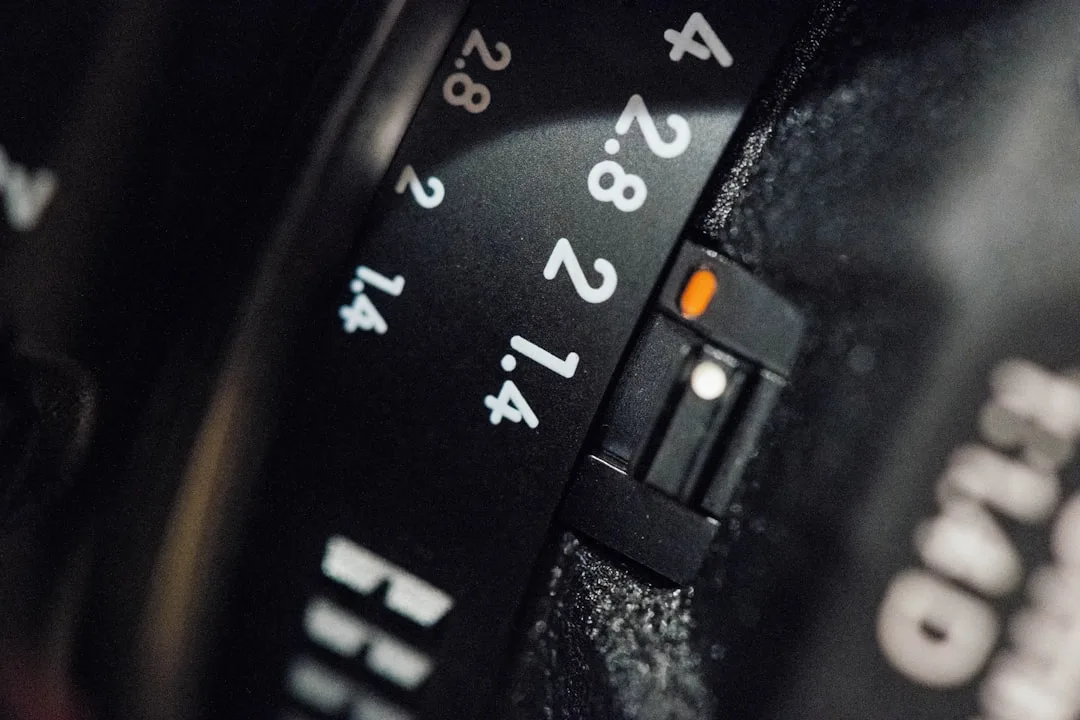
Aperture is the width of the opening the light passes through, measured by a number preceded by f, like f/1.8 or f/8.
The rule that confuses beginners: a smaller number means a wider opening and more light. So f/1.8 is wider than f/8.
The side effect is depth of field, meaning how much appears sharp in front of and behind the subject.
A wide aperture (small number) means shallow depth of field and a blurred background, suited to faces and interviews.
A narrow aperture (large number) means deep depth of field and everything sharp, suited to wide landscapes.
Side Two: Shutter Speed
Shutter speed is how long the sensor stays exposed to light, measured in fractions of a second like 1/50 or 1/200.
A slow speed (1/30) means more light and extended, blurred motion.
A fast speed (1/1000) means less light and frozen motion.
And here's the fundamental difference between stills and video: in video you don't get to choose your shutter speed freely, because it's tied to the frame rate. This is the rule our friend broke without knowing.
The 180-Degree Shutter Rule
The practical rule: make your shutter speed double your frame rate.
| Frame rate | Matching shutter speed |
|---|---|
| 24 frames per second | 1/50 |
| 25 frames per second | 1/50 |
| 30 frames per second | 1/60 |
| 60 frames per second | 1/120 |
The reason for this rule is that it produces the amount of motion blur the eye has grown used to in cinema. Raise the shutter speed too far and movement appears stuttering and unpleasantly sharp; lower it too far and it becomes excessively blurred.
The practical consequence: in video you're left with only two sides for controlling exposure, aperture and ISO, plus a third tool we'll get to shortly.
Side Three: ISO
ISO is how strongly the sensor responds to light.
Low ISO (100) gives a clean image but needs abundant light.
High ISO (6400) gives a brighter image in low light, but with noise appearing as coloured grain.
Base ISO is the value at which your camera gives its cleanest image, usually 100 or 200. Some cameras have two base values (dual native ISO), the second higher and used in low light without much noise.
The rule: raise ISO last, after you've exhausted aperture and lighting.
The Fourth Tool: The ND Filter
Filming outdoors in daylight presents the opposite problem: too much light. You can't raise the shutter speed because the 180-degree rule stops you, and you can't lower ISO below base.
The solution is a neutral density filter, darkened glass placed in front of the lens that reduces light without affecting colour. It's sunglasses for the camera, and it's one of the accessories beginners neglect most despite its large effect.
And it's the one thing that would have saved the entire shoot day at the top of this article.
Other Core Terms
White balance: setting the camera to the colour of the light in the room, measured in Kelvin. Daylight is around 5600K, warm indoor lighting around 3200K. Setting it wrong makes the image excessively blue or orange.
Frame rate: how many images are recorded per second. 24 or 25 for a cinematic look, 50 or 60 when you want to slow motion down in the edit.
Dynamic range: the camera's ability to record detail in very bright and very dark areas of the same shot.
Histogram: a chart showing the distribution of brightness in the image, more accurate than judging by eye on a screen, especially in sunlight.
Focus: sharpness on the subject. Manual focus is safer than autofocus on static shots, because autofocus may hunt mid-take.
Prime and zoom lenses: a prime has one focal length and usually a wider aperture and sharper image, while a zoom is more flexible.
The Order to Set Things in the Field
Follow this order every time:
- Frame rate, according to the shot type (normal or slow motion).
- Shutter speed at double the frame rate, then don't touch it.
- White balance by light source, set manually rather than automatically so it doesn't shift mid-take.
- Aperture according to the depth of field you want.
- An ND filter if there's excess light outdoors.
- ISO last, and as low as possible.
Step two is what protects your motion, so don't go back to it however bright the scene.
This Applies to Phones Too
None of the above is exclusive to professional cameras. Most professional camera apps on phones let you set shutter speed, ISO and white balance manually, and some phones accept clip-on ND filters.
The difference is that a phone has a smaller sensor and usually a fixed aperture, so you lean more on lighting and ISO. What a phone can and can't do is covered in: can you create content with just a phone?
The Exercise That Makes It Stick
Film the same scene three times: once with a wide aperture, once with a high ISO, and once with a shutter speed that breaks the rule. Then watch all three in sequence.
Reading an explanation gives you information. Seeing the difference with your own eyes in a scene you know gives you an instinct you'll use in the field without thinking.