Three Lamps, and a Face With No Features
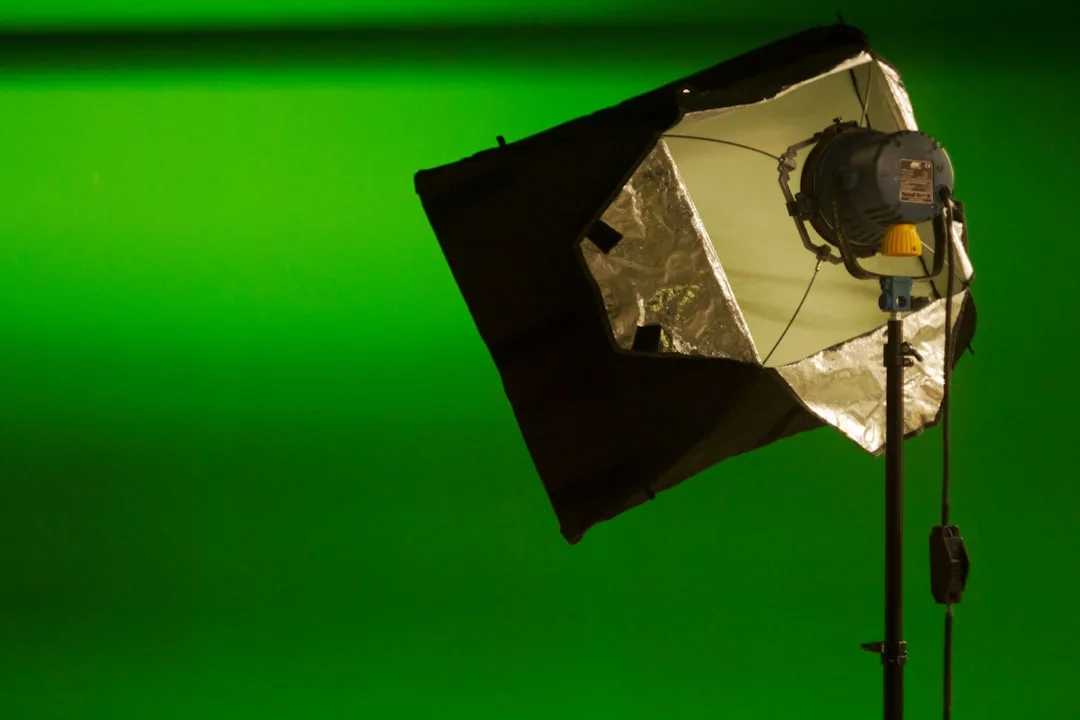
He bought three lights and switched them all on.
The room got very bright. The face on screen was clear, and clean, and lifeless.
No shadow under the cheekbone, no line separating the shoulder from the wall. A flat face that looked pasted onto the background.
He assumed the problem was the lamps' power, so he brought them closer. The brightness went up and the flatness with it.
Then one day he turned them all off, sat at an angle to the window, and propped a large white sheet of card beside him.
And suddenly the features appeared.
One source and a piece of card, better than three lamps placed without understanding.
The Principle That Comes Before Everything
The beginner asks: how do I add more light? The professional asks: where is the light coming from, and how hard is it?
Bad lighting isn't dim lighting, it's flat lighting: light arriving straight from the front that erases every shadow, so the face appears without features or depth. Good lighting creates measured shadows, because shadows are what reveal shape.
Soft Light and Hard Light
Hard light creates sharp-edged shadows. Its source is small relative to the subject: midday sun, a bare bulb, direct flash.
Soft light creates a gradual transition between light and shadow. Its source is large relative to the subject: an overcast sky, a big window, light passing through white fabric.
And the decisive rule: softness depends on the size of the source relative to the subject and on its closeness to it. The same lamp becomes softer when you bring it nearer and larger in area when you put a diffuser in front of it.
Which means you can soften any light for free: tracing paper, a piece of white fabric, even a thin curtain over the window.
The Direction of the Light
| Direction | Effect | When to use it |
|---|---|---|
| Straight on | Erases shadows, flattens the face | Rarely, for documentation purposes |
| Side at 45 degrees | Reveals features and gives depth | The default for most shots |
| Side at 90 degrees | Half the face lit, half dark | For tension and drama |
| From behind | A halo on the edges and hair | For separation from the background |
| From below | Frightening and unnatural | For a deliberate effect only |
The practical rule: start at 45 degrees horizontally and slightly above. This is the position that resembles natural sunlight, and the eye reads it as correct without thinking. It's what our friend stumbled into when he sat at an angle to the window.
Three-Point Lighting
The key light: the strongest source, which defines the shape of the face and the direction of the shadows. Put it at 45 degrees from one side.
The fill light: weaker than the key, placed on the opposite side to soften the shadows without erasing them. The ratio of its strength to the key is called the lighting ratio: the closer to equal, the calmer the image; the bigger the gap, the more dramatic.
And the fill usually doesn't need a lamp. A white reflector or a foam board bounces part of the key light back and does the job, which is exactly what the white card was doing.
The back light, or rim light: placed behind and above the person, drawing a bright line on the shoulders and hair and separating them from the background. It's the biggest difference between a flat image and a dimensional one, and it's also the most neglected.
A Single-Source Setup
If you only have one light, or only a window, this is enough:
- Put the person at 45 degrees to the window, neither facing it nor with their back to it.
- Put a white reflector on the opposite side, half a metre away, to fill the shadows.
- Move the person two steps away from the wall so their shadow doesn't fall on it and the background reads softer.
These three steps produce a better image than many expensive setups arranged without understanding.
Natural Light and Its Hours
Golden hour: just after sunrise and just before sunset. The light is low, warm and soft, and it's the loveliest time to shoot outdoors.
Blue hour: immediately after sunset. Cool, soft, even light, suited to calm scenes.
And summer midday: the worst time. The sun is overhead and creates hard shadows under the eyes and nose. If you have to shoot then, find full shade, under a tree or an awning, and shoot in it.
Colour Temperature
Don't unintentionally mix sources of different colour temperatures in the same shot: window light is cool (around 5600 Kelvin) and an indoor bulb is warm (around 3200 Kelvin). Together they turn half the face blue and half orange.
The fix is either to switch one off, or to gel one with a colour-correction sheet, or to accept the mix deliberately if it serves the scene. Setting white balance manually is covered in: camera basics and the exposure triangle.
Common Mistakes
Lighting from directly above: creates black shadows in the eye sockets.
A window behind the person: the camera exposes for the window and the face becomes a black silhouette. Turn the person to face the window or shoot from another angle.
A small source close to the face: creates a hot spot and a hard shadow, so add a diffuser.
And neglecting the eyes: a lit face with dark eyes looks dead. Adjust the angle until you can see the light's sparkle in the eyes.
The Practical Order on Location
- Turn off every existing light and start from zero.
- Place the key light alone and adjust its angle until you're happy with the shape of the face.
- Add the fill or reflector, and dial it down until the shadows remain but stay readable.
- Add the back light and raise it until a line appears on the shoulders without glaring.
- Look at the background last: does it need its own light, or is leaving it dark better?
The order matters: someone who switches everything on at once doesn't know which light is causing the problem. Which was our friend's exact mistake.
The Exercise That Teaches More Than an Explanation
Sit in front of a window and rotate yourself slowly through a full turn while filming your face. Watch the recording and notice when the face looked flat, when the features emerged, and when it disappeared into shadow.
One light source and one full rotation will teach you more about light direction than any article, because you see the change continuously rather than in separate images.