
Two Photos of the Same Place
Two people stood on the same street and shot the same old doorway.
The first with a camera costing a month's salary. The second with his phone.
Put side by side, the phone photo was the better one.
Here's what the phone owner did, without naming any of it: he moved three steps left until the shadow of the wall led the eye to the door. He crouched slightly so a tree branch entered the top of the frame. And he shifted the camera until a parked car left the background.
The first one stood where he was, raised the camera, and shot.
The difference wasn't the device. It was where the feet were standing.
Why Composition Matters More Than Gear
A well-composed phone shot looks better than a chaotically composed shot from a professional camera. The reason is that composition addresses the first thing a viewer's brain does: hunt for a point to settle on.
If you don't guide it, it wanders among the elements and feels an unease it can't explain.
The Rule of Thirds
Picture two horizontal and two vertical lines dividing the frame into nine equal boxes. The rule says: put the important subject on one of the lines, or at an intersection of two.
The practical application: in a shot of a person, put their eyes on the upper horizontal line. This is the single composition rule that changes how a shot looks most immediately.
Why does it work? Because dead centre looks static and formal, while sitting on a third leaves space for the image to breathe.
And when do you break it? Deliberate centring gives a sense of formality, confrontation, or isolation. Break the rule when you want that feeling, not when you forget the rule.
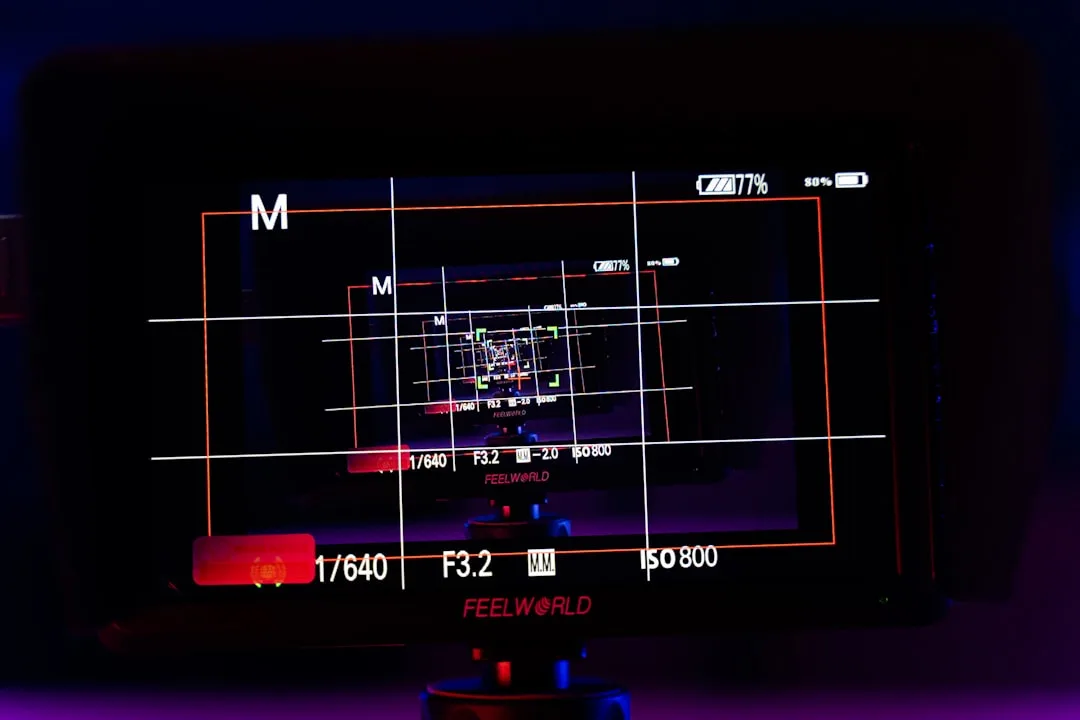
Most phones and cameras can display a thirds grid on screen. Turn it on and within a week you'll be composing with it without thinking.
Leading Lines
Any line in the scene guides the eye: a road, a wall, a shadow, a row of columns, a shoreline. Good composition uses those lines so they end at your subject.
In any place you shoot, look for the lines already there, then change your own position until they pour into your subject. Moving your feet two metres does what no setting can, and those are the three steps the phone owner walked.
Depth and Layers
An image is a flat surface, and a sense of depth is created by putting elements at three distances:
Foreground: something close to the lens, even partially, like a branch, a door edge, or a person's shoulder.
Midground: the main subject.
Background: what's behind it.
A shot containing all three layers looks dimensional, and a shot with only a subject in front of a wall looks flat. This is the fastest way to make phone shots look more professional.
Looking Room and Head Room
Looking room, or nose room: when a person looks in a direction, leave more empty space on that side. The eye expects space in front of a gaze, and pinning the face to the frame edge creates tension. Use it deliberately if you want tension, and avoid it otherwise.
Head room: the distance between the top of the head and the frame edge. The common mistake is leaving too much, so the person looks like they're sinking to the bottom of the image. The rule: a small gap, with the eyes at the upper third.
The Rule About Cutting at Joints
Don't cut the frame at a joint: the knee, the ankle, the wrist, the elbow. Cutting at a joint looks like amputation. Cut above or below it: mid-thigh rather than knee, mid-forearm rather than wrist.
Frame Within a Frame
Use elements of the scene to frame your subject: a doorway, a window, an arch, a gap between two trees. This isolates the subject and adds depth at the same time, and it's among the easiest tricks that instantly raise a shot.
The Horizon and Level
A tilted horizon ruins a shot and is spotted immediately even by non-specialists. Turn on the level indicator in your camera or phone.
Where you place the horizon is itself a choice: on the upper third if the ground is the subject, on the lower third if the sky is. Dead centre splits the image into two equal halves and weakens both.
A Checklist Before You Press Record
A few seconds running through these points before each shot:
| The question | The quick fix |
|---|---|
| Is the subject on a third? | Move the camera, not the subject |
| Is the horizon level? | Turn on the level indicator |
| Is anything distracting in the background? | Shift your angle one step |
| Is there a foreground giving depth? | Look for a close element |
| Is the head room right? | Raise the camera slightly |
| Is a pole growing out of their head? | Move sideways |
The last one deserves special attention: poles and trees that appear to sprout from people's heads are the most famous beginner mistake, and they're only noticed in the edit, when it's too late.
Tie Composition to the Script
Composition isn't a separate aesthetic decision, it's part of the meaning: a wide shot where the person looks small says something about their isolation, and a very close shot says something about their pressure.
So decide the shot type and its composition in the shot list before you go out, not on location under time pressure, as explained in: from script to shot list: how to bridge writing and filming.
The Fastest Exercise for Learning
Shoot the same subject five times with five different compositions: centred, on a third, with a foreground, with an internal frame, and from a low angle. Then watch them in sequence and pick the best.
Repeating this exercise ten times teaches you more than reading ten articles, because composition is a visual skill built by comparison rather than memorisation. Setting exposure on these shots is covered in: camera basics and the exposure triangle.