
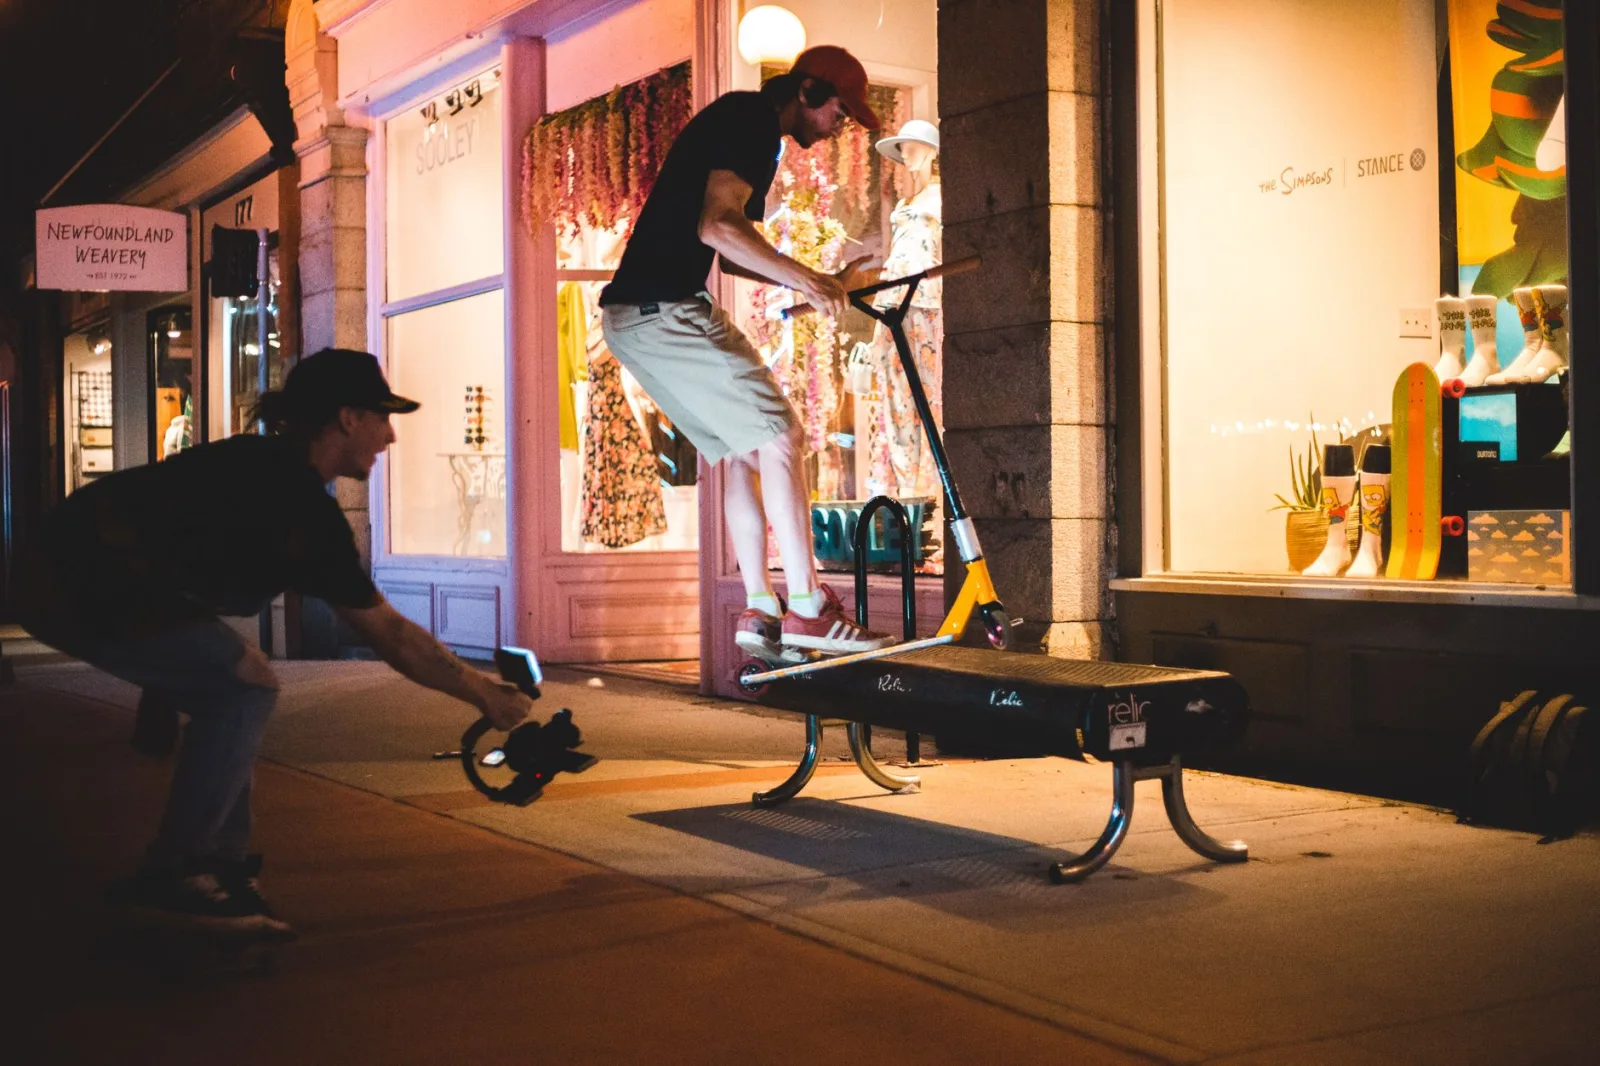
He sat in an old café after sunset. The light was warm, the faces clear, the place looking as if it had been built for filming. So he took the camera out and shot for twenty minutes, quite content.
At home he opened the file. The picture was full of coloured grain crawling in the shadows, the brown wall had turned a washed-out green, and the face was smooth to the point of looking drawn. What he saw in the café was not what the camera recorded.
The camera was not bad. The light was far less than his eye had believed.
Your eye lies to you, but not on purpose
The human eye adapts to darkness within minutes, opens its pupil, and switches to cells that see in very low light with no colour. So you walk into a dim room, and after a while you see it as "normal".
The sensor does not do this. The sensor counts the light reaching it in each frame, and at night very little arrives. So if you want footage that looks like what you see, you do not need a camera like your eye; you need to deliver more light.
Everything below is a way of delivering light, ordered from the cheapest to the most expensive in quality terms.
The right order of four dials
The most common mistake at night is making ISO the first thing you raise. Make it the last, in this order:
1. Open the lens. Bring the aperture number down to the widest you trust: f/2.8 or f/2. Each step doubles the light coming in. Do not open all the way if the person is moving, because depth of field gets thin and the face lands soft. On how the lens relates to aperture and depth, choosing the lens you shoot most of your work on goes into it.
2. Set the shutter and leave it alone. The rule: shutter equals double the frame rate. Shooting 25 frames? Make it 1/50. Shooting 30? Make it 1/60. Slowing it further gives you more light but smears motion; speeding it up makes motion stutter. This is not a dial you negotiate with.
3. Now raise ISO. Raise it until the face is clear, not until the picture is "bright". Most modern cameras are clean to 3200, acceptable at 6400, and fall apart beyond that. Shoot one test clip at each value once, at home, and learn your own camera's limit instead of asking about it.
4. Then go looking for light. This is the strongest dial, and it is free.
If those numbers are not clear to you, the terminology and exposure triangle guide explains them in full.
The cheapest light in the world: the light already there
Do not buy an LED panel before trying this: move the person, not the camera.
One step towards the window or the bulb can double the light on their face. And the sources around you are more numerous than you think:
- The room bulb: seat the person at an angle to it rather than directly under it, because direct overhead light digs hollows under the eyes.
- A shop front or a neon sign: strong coloured light, and it gives the night its character.
- A phone screen or a laptop: excellent soft light for a close face. Turn it to a white page and raise the brightness.
- A car headlight or a street lamp: stand so the light comes from the side of the face rather than behind it.
And the one rule: light comes from in front of the person or from the side. Light behind them turns them into a black silhouette, and then you raise ISO to fix what cannot be fixed.
Arranging lights deliberately is a wider subject, covered in lighting from a single source to three-point setups.
Three things inside the camera that help at night
Rest the camera on something. Shake shows doubled in the dark, and a table, a wall or a small tripod is enough. Even handheld, brace your elbow against something.
Do not shoot Log if you are starting out. It keeps more detail for grading, but in low light it shows noise more and needs work in the edit. Shoot a normal profile and set the picture in camera.
Expose for the face, not the scene. The camera averages the frame, and at night most of the frame is darkness, so it brightens everything and the face goes pale. Watch the face only, and let the surroundings stay dark; the night is entitled to be dark.
Noise: what can be fixed and what cannot
Noise reduction in editing software has improved a great deal, and it can clean light to moderate noise with an acceptable result.
But it does so at a price: every pass swallows detail. With heavy noise the face goes smooth as plastic and the hair becomes one mass. So the rule is simple: light grain beats a plastic face. Given a choice between a grainy shot and a heavily cleaned one, the first reads as cinematic and the second reads as broken.
As for a very dark picture you brighten in the edit, that is the worst case: the shadows hold no information, so lifting them produces coloured blotches.
Four things not to do
Do not use digital zoom. It crops the image and doubles the noise.
Do not fire a phone flash at someone's face. A small hard light from the camera's position flattens a face and drains its colour.
Do not shoot high frame rates at night. Shooting 60 frames forces a faster shutter, halving your light for no gain worth naming.
Do not trust the camera screen. Its high brightness in the dark makes the picture look brighter than it is. Rely on the meters rather than your eye.
Ten minutes before any night shoot
Sit in the place before you begin and do five things: find where the strongest existing light comes from, seat the person so it falls on their face, open the aperture, lock the shutter at double the frame rate, and raise ISO until only the face reads.
Then shoot ten seconds and watch and listen to it on a bigger screen if you can. Ten minutes of arranging saves you two hours of trying to rescue a shot in the edit, and those two hours rarely end in a good result.