
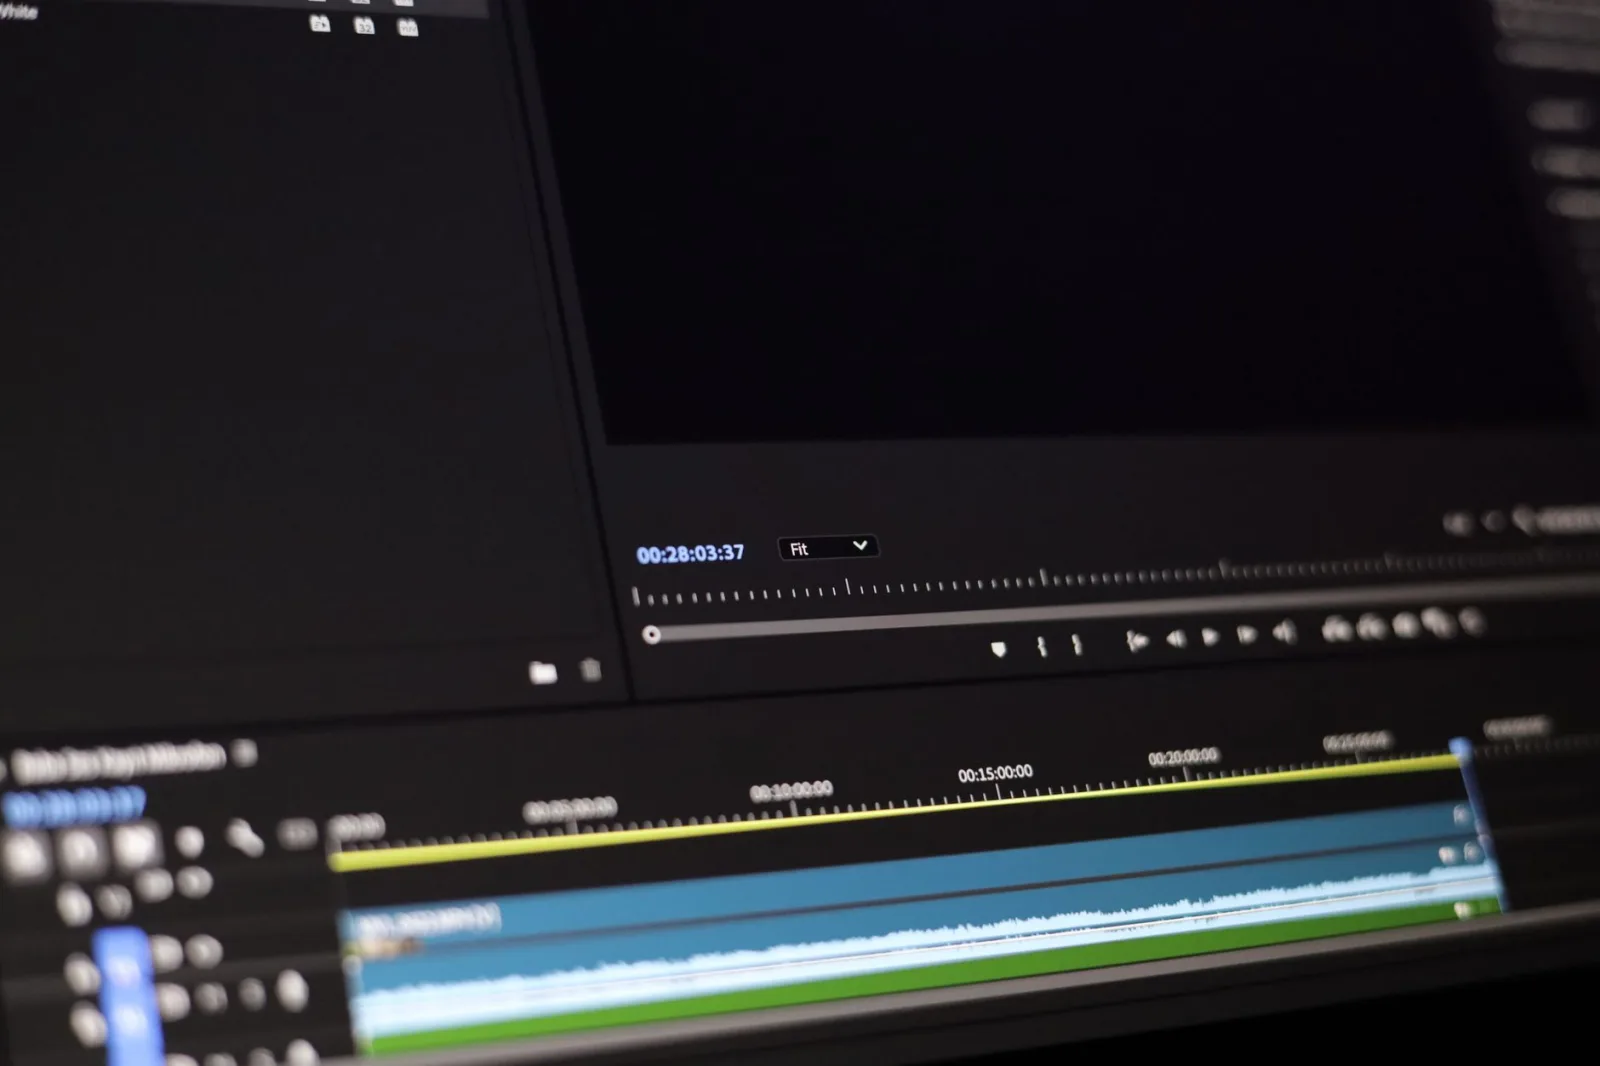
He exported the video and watched it twice on his computer. It was clean: faces sharp, the night scene carrying a smooth gradient from blue into black, the walking shot steady.
He uploaded it, and an hour later opened it on his phone. The night scene had become blocks, the sky had become layers, and the walking shot stuttered.
Nothing in his work had changed. What happened is that the platform re-compressed the file, and everything fragile in his picture showed up under compression.
The first thing to understand: the file you upload is not the file people watch
Every platform takes your file and re-encodes it into several versions at different sizes, then serves each viewer the version that suits their screen and connection. You do not control that process, and it happens to every video without exception.
From which comes the one rule that governs the whole of exporting: your job is to hand the platform a clean file at the highest sensible quality, not a file already compressed twice. Every compression you add before uploading has its effect multiplied after it.
What the export actually decides
Only three decisions matter:
1. Resolution. Export at the same resolution you filmed at. If you shot at a given resolution, do not export below it, and do not upscale a small picture to a bigger size, because upscaling adds no detail that was not there, only file size.
2. Frame rate. Use the same rate you filmed at. Changing it on export causes a faint, irritating judder in motion, and it is one of the faults viewers feel most without knowing its cause.
3. Bitrate. This is the figure that sets how much data there is per second, and the higher it goes the better the quality and the larger the file. Since every platform publishes a page of its recommended settings, the right source for this figure is that page rather than a forum post, because these numbers change.
As for the rest of the options in the export window, most of them change nothing a viewer would notice.
Four things that always break under compression
Know them so you can anticipate them while filming and editing.
Dark scenes. Blacks and shadows are the first thing to fragment into blocks. If your film has a night scene, that is where every problem will appear.
Smooth gradients. The sky, a wall lit by a single lamp, an out-of-focus background. They turn into visible rings or bands.
Fast motion and dense detail. Moving water, foliage, crowds, striped clothing. These are the hardest thing of all for compression.
Grain. The grain that comes from raising camera sensitivity in low light doubles the difficulty of compression, and comes out worse after upload than it went in.
And the fix is not in the export window but in the filming and the edit: enough light, low sensitivity, and no overlifting the shadows in the grade. How far is enough in colour correction before you ruin the picture is the subject of colour correction in the edit.
Do not export twice
The most common mistake nobody notices: you export the video, then open the exported file in another application to add text or music, then export it again.
The result is a file compressed twice before it reaches the platform that will compress it a third time. If you need a change, go back to your original project and export once.
The same principle applies to audio: do not export compressed audio and then process it again. Set your levels inside the project itself, and how to do that is in audio levels in the finished video.
Audio on export
Three practical points:
- Export audio at the highest quality your software offers; audio takes relatively little size and is not worth economising on.
- Confirm the audio came out in two channels rather than one, unless one is deliberate.
- Listen to the last five seconds of the exported file. Audio cutting out at the end is a common fault that only shows in the final file.
The thumbnail is a separate file
Do not rely on the platform picking a frame from your video. Export the thumbnail as a separate image file, at the video's own dimensions, in an ordinary image format.
And look at it small on your phone before you upload it: if you cannot read its words at thumb size, it does not work.
Before you upload: a seven-minute checklist
Do this on every video and you will save yourself a re-upload:
- Watch the first thirty seconds of the exported file all the way through.
- Listen to it on a cheap phone earpiece, not your good headphones.
- Watch it once on a phone screen, because that is where most of your audience is.
- Confirm the subtitles and on-screen text sit inside the frame and are not clipped by the edges.
- Listen to the last five seconds.
- Check the file's duration is the duration you expect, because incomplete exports happen.
- Check the filename, because it is what you will see in your library a year from now.
After uploading: do not judge in the first ten minutes
The platform processes the higher-quality versions after the upload finishes, so the video you watch a minute after uploading is the lowest version available. Wait until processing completes before judging the picture.
And when you judge, select the highest available quality manually rather than leaving it automatic, because automatic chooses by your connection.
When the fault is in your work rather than the compression
If the picture is equally bad in your exported file and on the platform, the problem is neither the export nor the compression but the filming or the edit. And the faults most unfairly blamed on compression are: imprecise focus, insufficient light, and high sensitivity.
The rule: watch your exported file first. If it is clean, the problem is in the upload; if it is bad, no export setting will rescue it.
Archive one high-quality file
Keep a high-quality exported copy of every video you publish, somewhere outside the edit project. That file serves you in three places: republishing on another platform, cutting short clips from it, and re-uploading if something goes wrong.
What to keep and what to delete when a project ends has its own article, and the editing principle that precedes all of this is in editing basics: start by deleting, not adding.
In three sentences
Export at the resolution and frame rate you filmed at, and take the bitrate from the platform's own page. Never export a file twice. And check the file on a phone and a cheap earpiece before you upload, which is three minutes that prevents most of what people regret after publishing.