
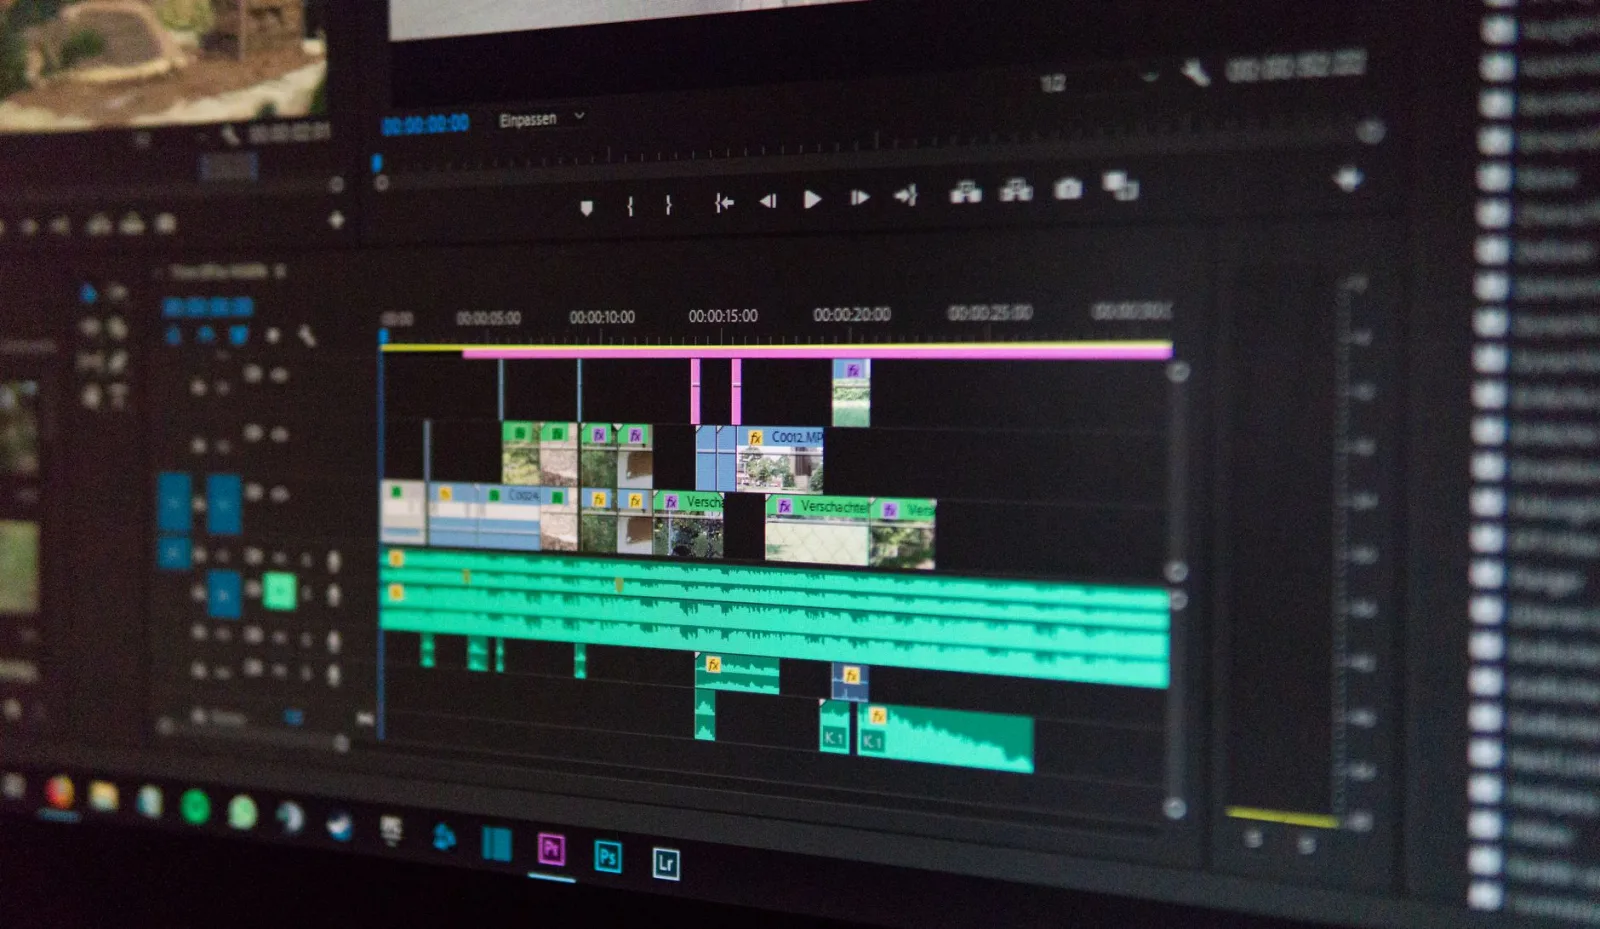
He came back from the shoot full of energy. He opened the software, pulled in the memory card, dragged every file onto the timeline, and started cutting.
Two hours later the situation was this: forty clips with camera filenames that meant nothing, music on the same track as the speech so he could not lower it on its own, a timeline that stalled for a full second on every scrub, and one important clip carrying unintelligible audio he only noticed after building half the video on it.
Next time he tried something else: ten minutes of arranging before the first cut. And the edit finished in half the time.
Why ten minutes saves two hours
Because editing is not sequential work but work where you return to the same material twenty times. And every time you search for a clip with an unreadable name, or move music on the wrong track, or wait for stuttering playback, you pay for the ten minutes you did not spend at the start.
The other benefit is the early check. A damaged clip you discover in the fifth minute costs you a replan; one you discover after two hours costs you a rebuild.
1. Copy the material into the project folder first
Do not edit from the memory card or from an external drive that may disconnect. Copy all the material into the project folder, confirm the copy completed, and compare the two folders' sizes.
And the folder structure itself has a shape that holds, set out in how to organise your files and never lose a shot. What matters is arranging the folder before you open the software rather than after, because moving files once the project is linked to them breaks the links.
2. Check before you cut
Four minutes on this step rescues the whole project:
- Open every audio file and listen to ten seconds. Watch for noise, an empty file, and a microphone that did not record.
- Scrub quickly through the picture clips and look for anything out of focus, dark or cut off.
- Confirm sound and picture match if you recorded audio on a separate device.
- Check the file count. A missing file shows up here rather than two days later.
And write what you found in a note: "clip four's audio is unusable", "the interview from minute 12 has noise". Those notes become the map of your decisions.
3. Create the sequence with your filming settings
Do not let the software invent settings, and do not put material at one frame rate into a sequence at another. Make the sequence's resolution and frame rate match what you filmed.
And if you have material at different rates, separate it: put deliberately slowed material in its own sequence and handle it there, then bring the result into the main sequence. Mixing in one sequence causes judder whose cause you will not find.
And these settings are the same ones you will export with, which is why a correct export starts here rather than in the export window, as in exporting your video: which settings do you upload with.
4. Split the material into bins
Inside the project, do not leave forty files in one list. Five bins are always enough:
- Speech (interviews and talking to camera)
- Cutaways
- Sound (ambience and effects)
- Music
- Graphics, text and images
And rename only the important clips, not all of them. A clip you will return to ten times deserves a name; the rest of the material is served by the bins.
5. Proxies: when you need them
If playback stutters, the answer is not a more powerful computer but lightweight copies of the material: lower-resolution files you edit with, which the software swaps back for the originals at export.
Generating them takes time once and gives you smooth playback in every session after. Run it while you drink your coffee or write your notes.
And when you do not need them: if playback is already smooth, they are a wasted step.
6. Fix the track order
This is the smallest decision with the biggest effect on your speed. Make the track order identical in every project you build, for example:
| Track | What goes on it |
|---|---|
| V1 | The main speech |
| V2 | Cutaways |
| V3 | Text and graphics |
| A1 | Speech audio |
| A2 | Ambience |
| A3 | Music |
| A4 | Effects |
The benefit is that after three projects you stop thinking: your hand knows where the music is. The second benefit is that ducking the music under the speech becomes one movement, because every kind lives on its own track.
Save with a date in the name
The project name: the video's name then the date. And save a new version at every major session rather than writing over the same file. Project files are small, and five copies of one are cheaper than a lost day's work.
And turn on autosave if your software has it, set to every ten minutes rather than every half hour.
Then start by deleting, not cutting
After those ten minutes, the first movement on the timeline is not a cut but a deletion: put all the speech on the track and delete everything that does not belong, before you add a single cutaway or any music. That principle is the spine of editing, set out in editing basics: start by deleting, not adding.
A checklist before export
And at the end of the session, before you export, run through six things:
- There is no unintended silence at the start or end of the video.
- All on-screen text sits inside the frame.
- The music ends on a fade rather than an abrupt cut.
- No clip you never touched is left at its original settings in the middle of the video.
- The video's length is the length you expect.
- You saved a copy of the project.
In short
Fast editing is not a skill in shortcuts but a system that repeats. Copy, check, create the sequence correctly, split the bins, fix the tracks, and save with a date. Six things in ten minutes, done in the same order on every project, until your hand knows them without thinking.